


Outback® Flat
Stratco
SKU: Outback-Flat
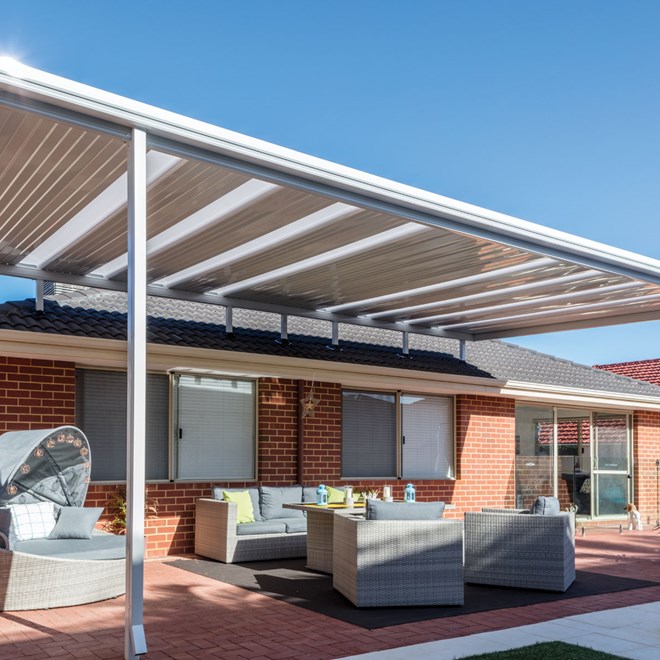
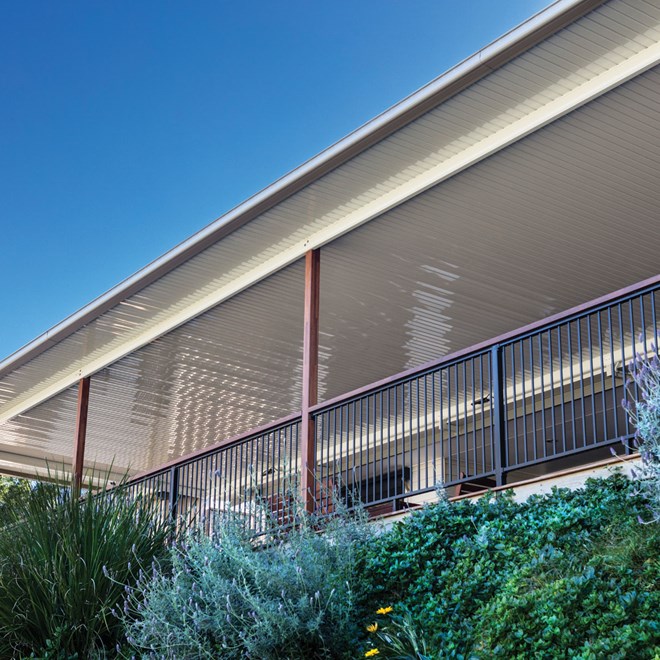
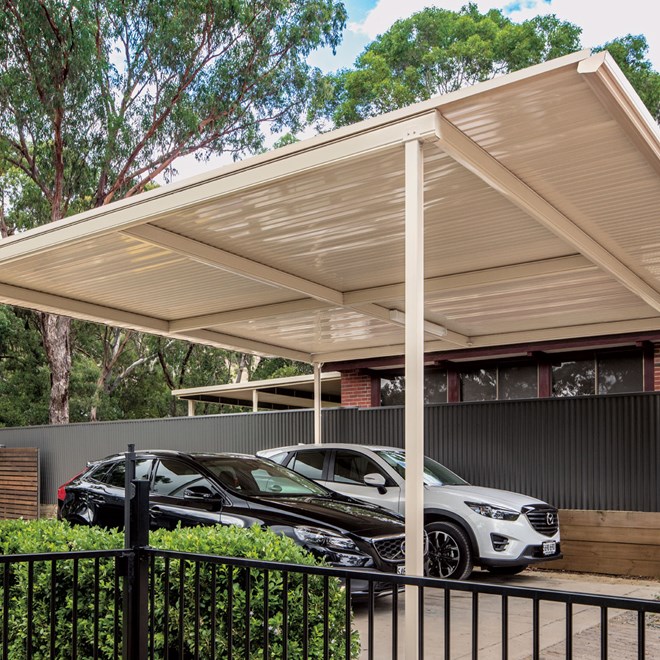
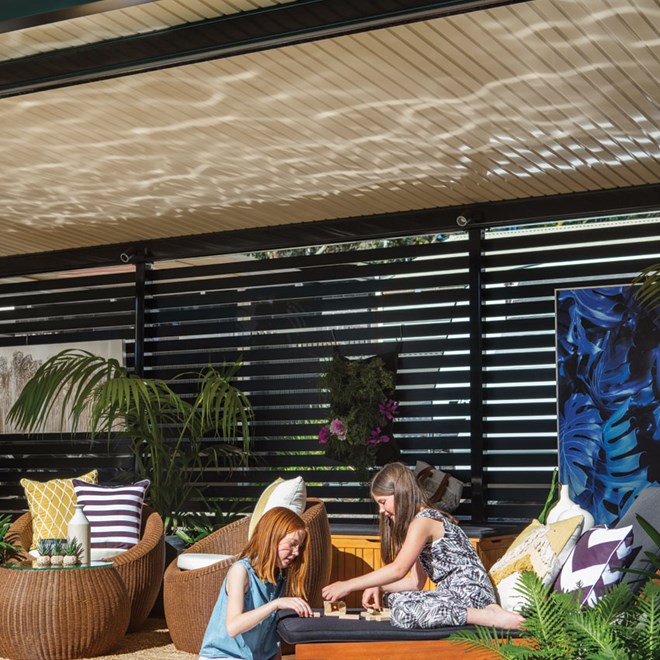
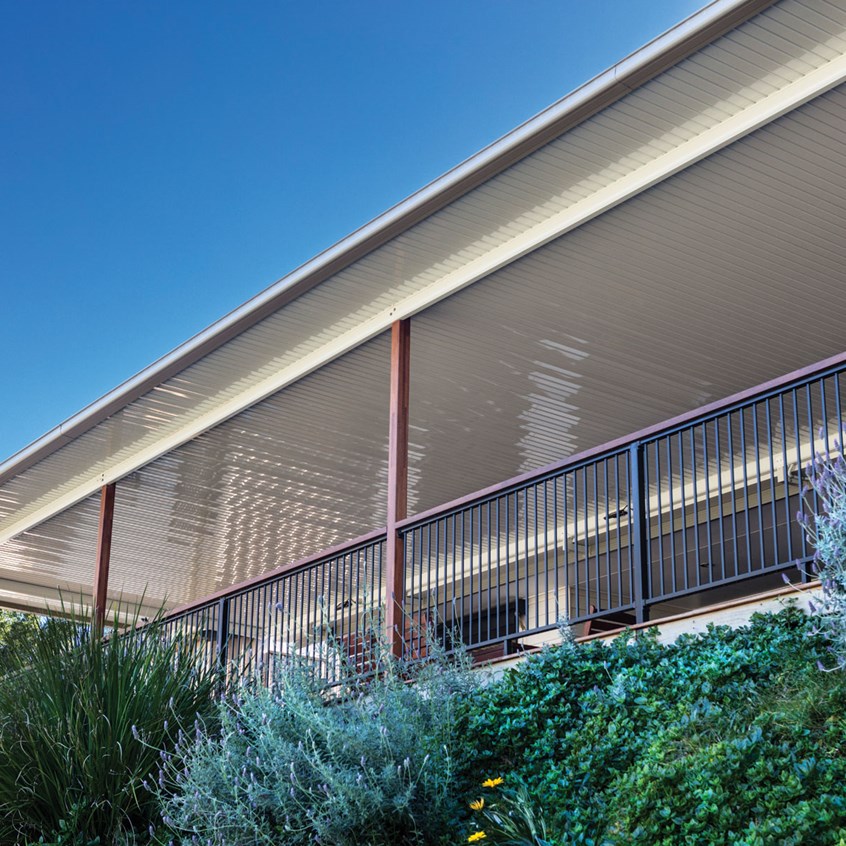
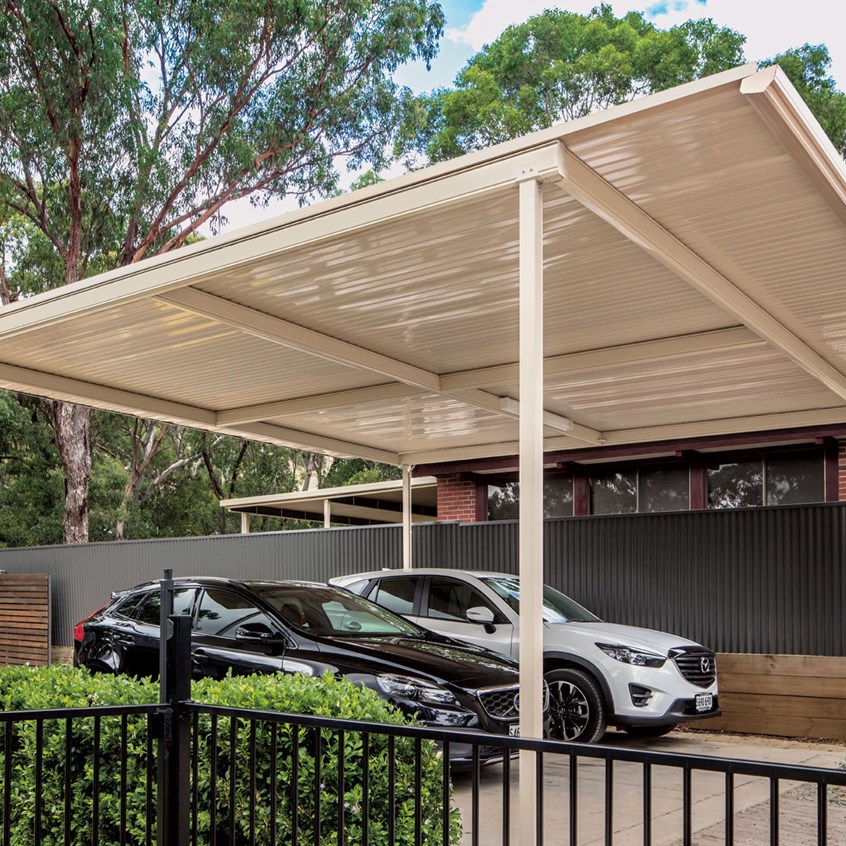
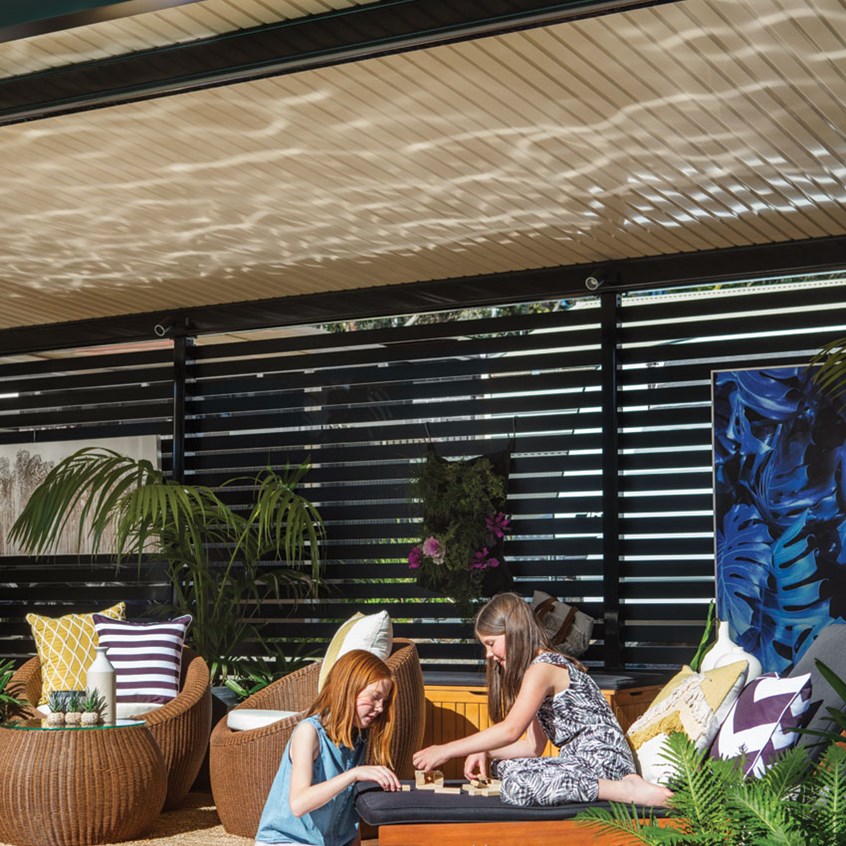
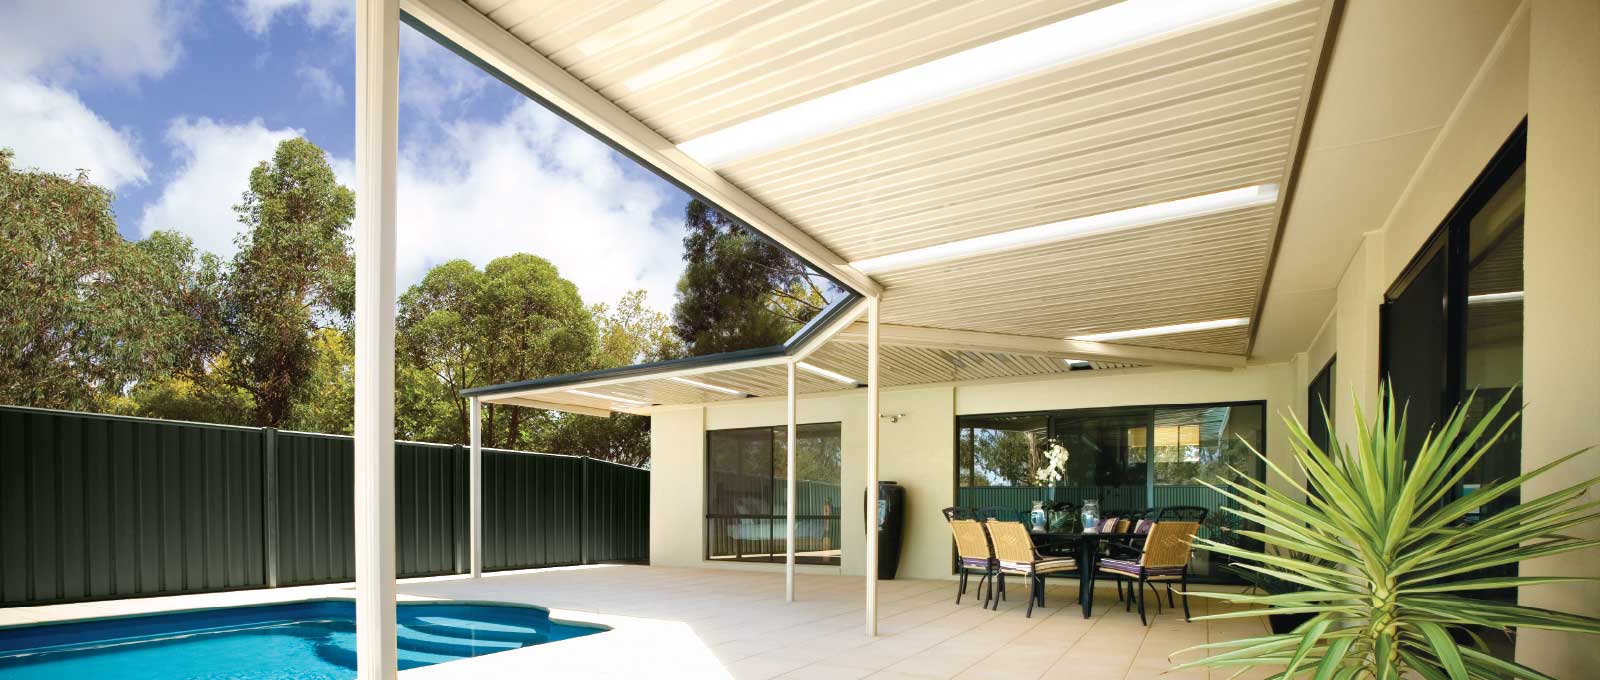
Create an attractive and functional outdoor living area that will enhance your home and lifestyle with the smooth, simple, uncluttered lines of the classic Stratco Outback Flat Roof Verandah, Patio or Carport.Image gallery


Outback® Flat Verandah
Adapt the versatile Stratco Outback Flat Verandah to your home
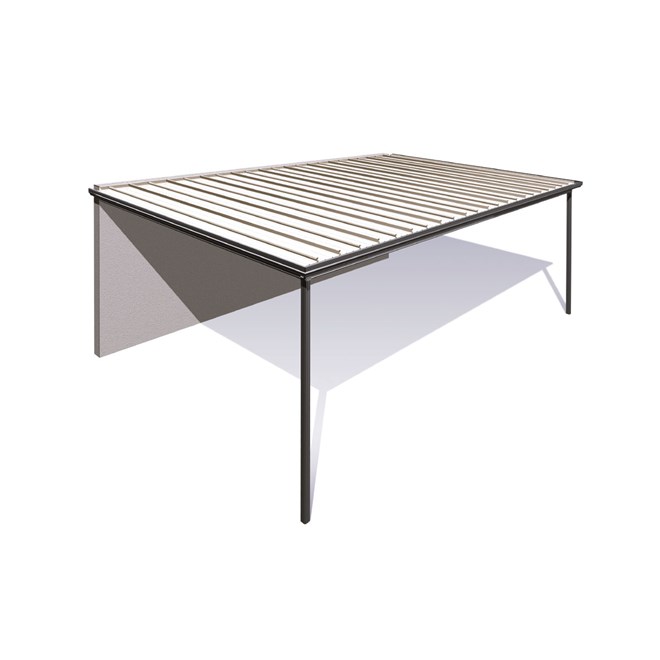
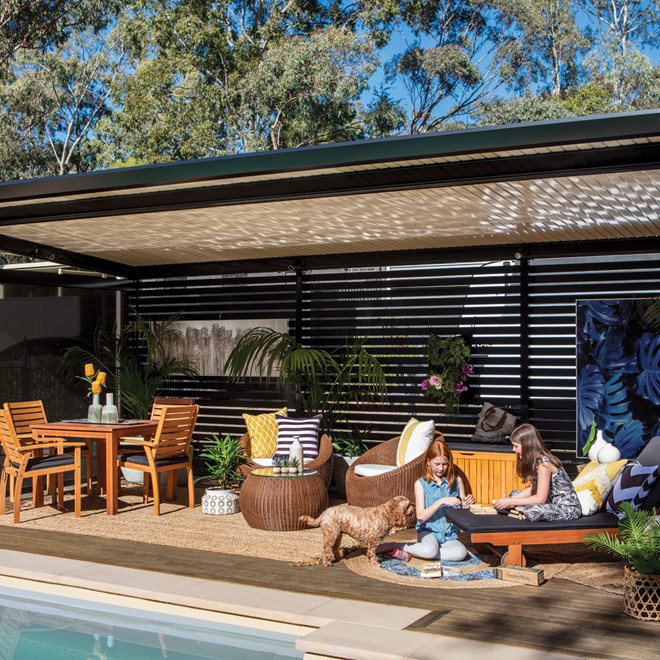
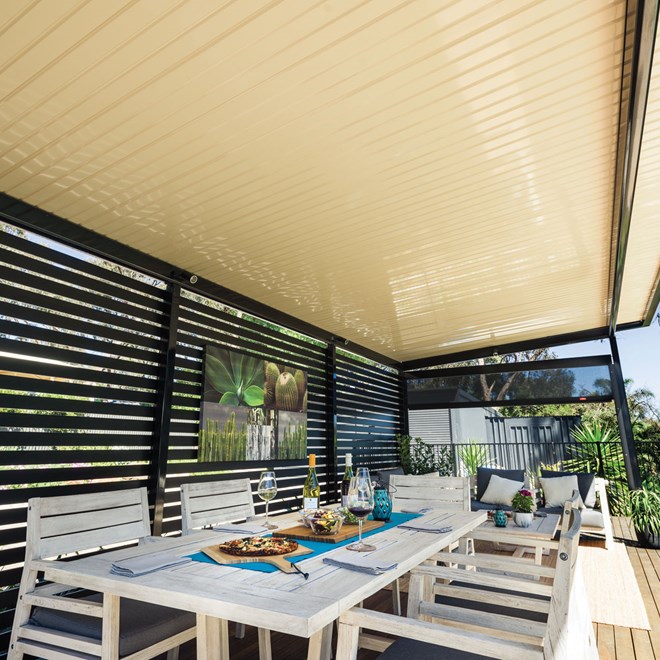
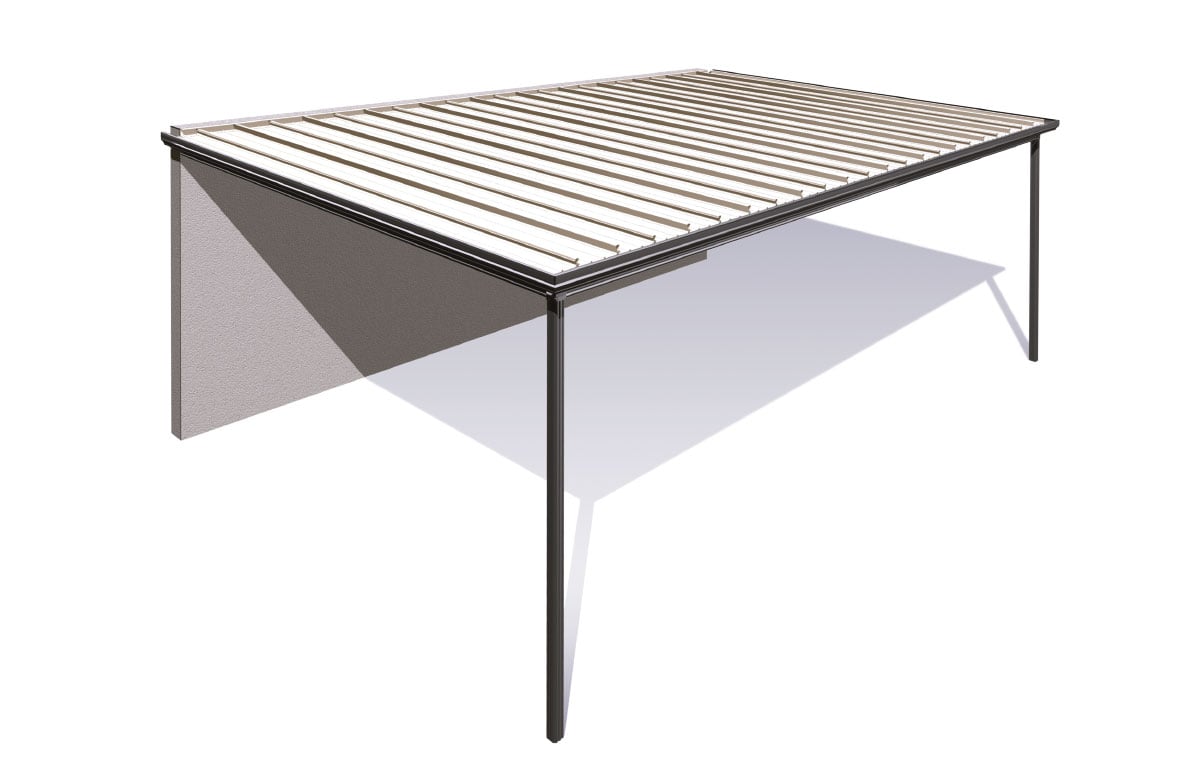
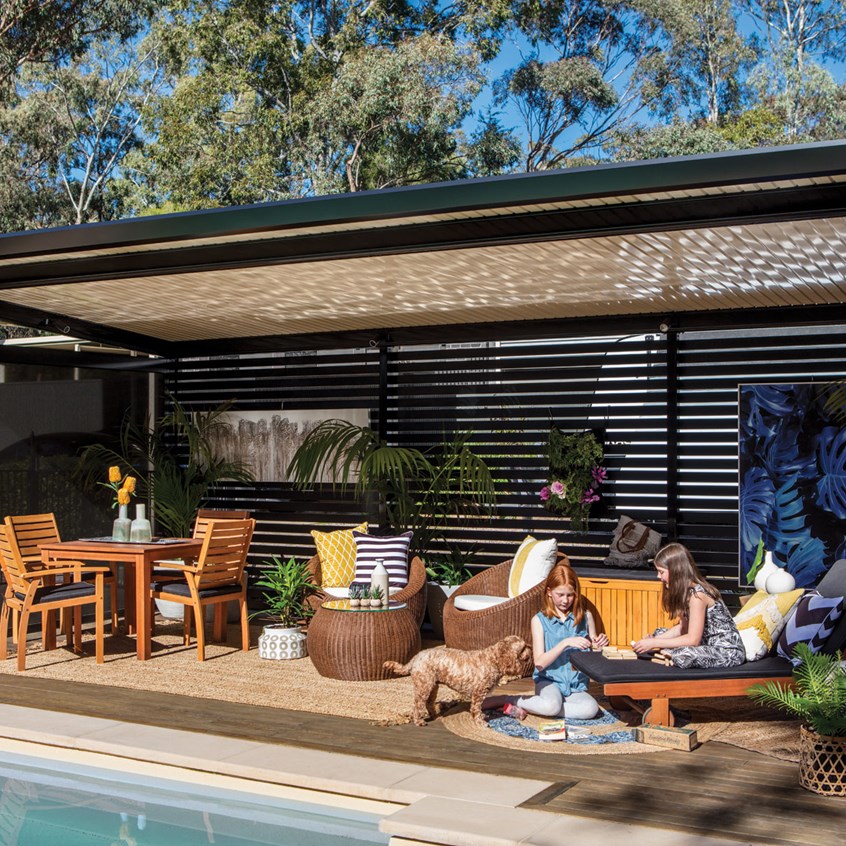
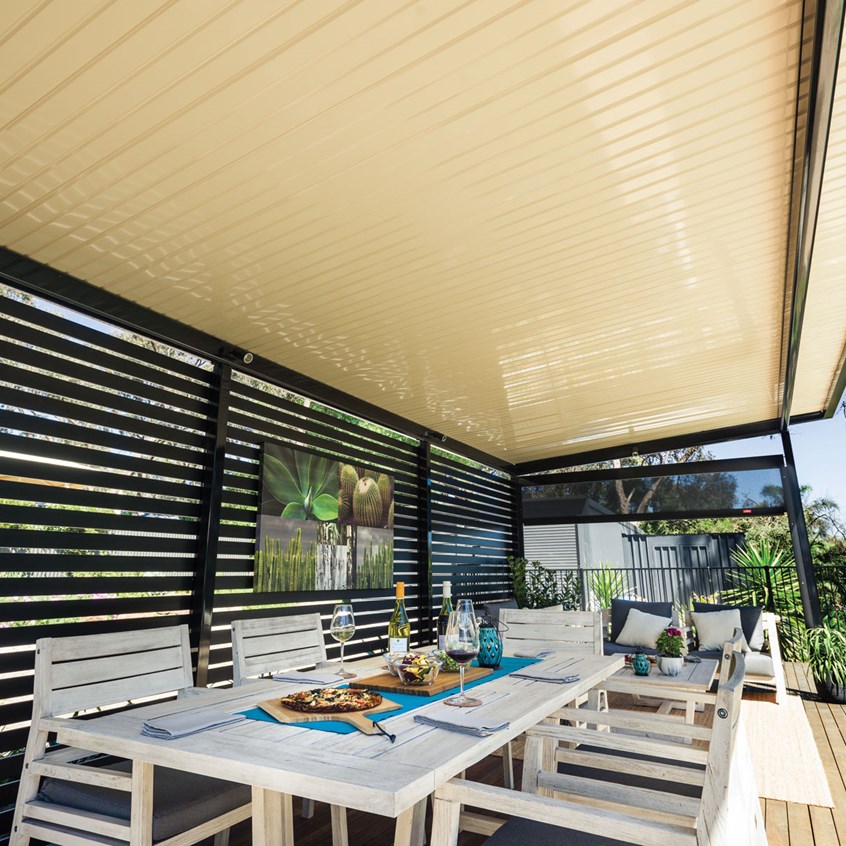
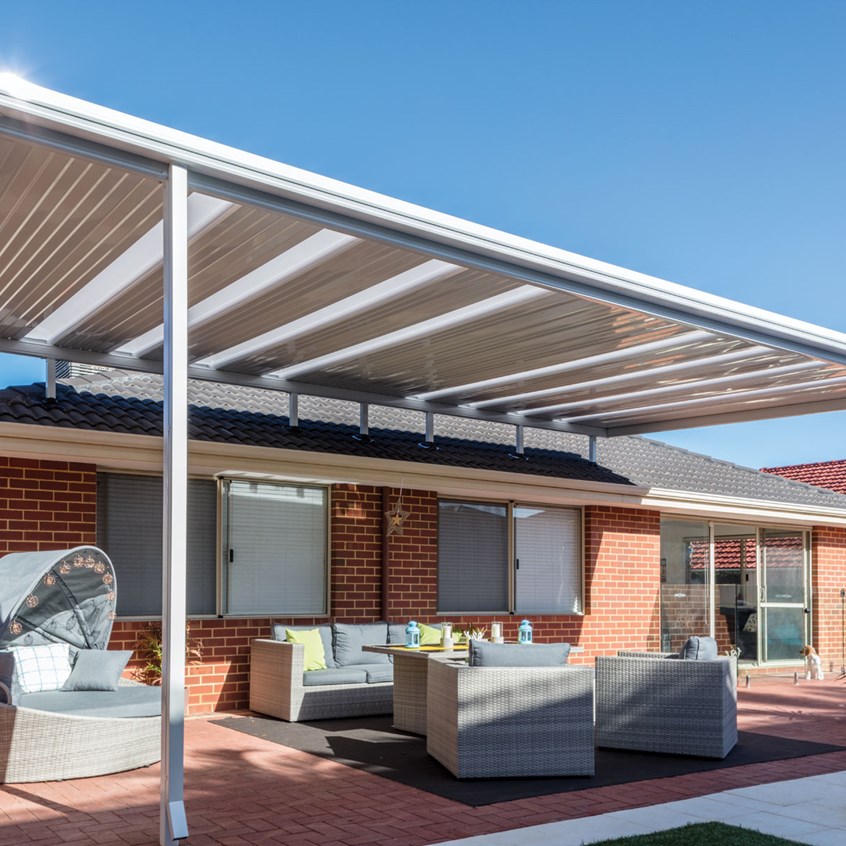
Create a functional outdoor living area that will enhance your home and lifestyle with the smooth, simple, uncluttered lines of the classic Stratco Outback Flat Roof Verandah. The versatile Flat Roof Verandah system can be configured to cover any area around the home.
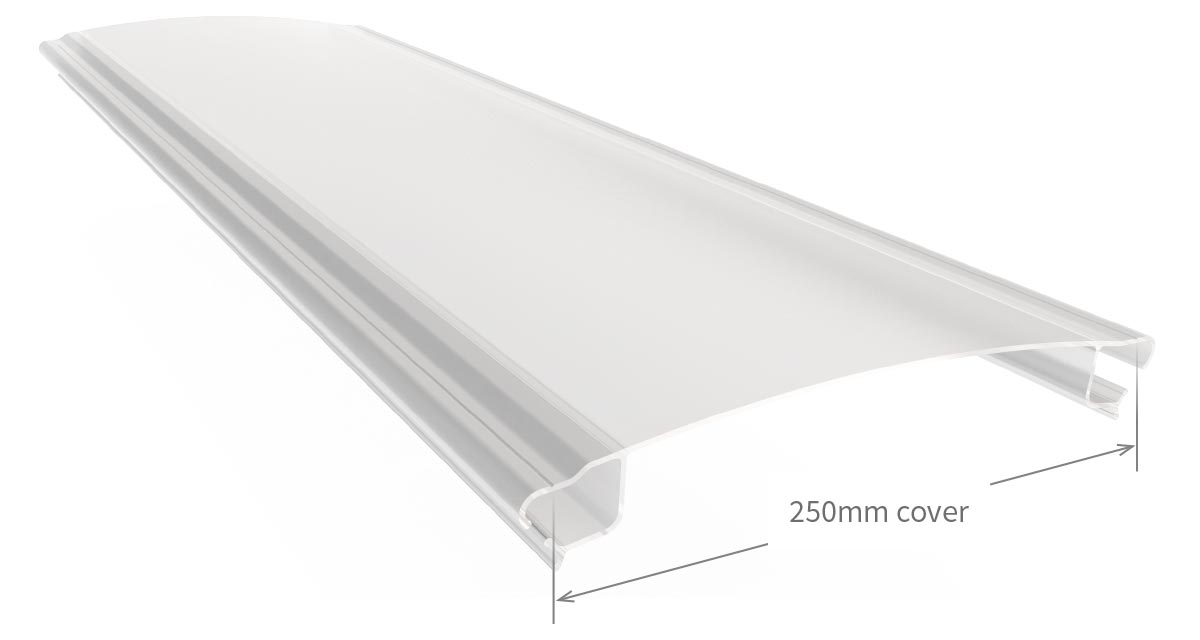
It is ideal as a single unit or incorporated with a gable roof, curved roof, or opening roof system. Available as either a freestanding structure or attached to the home it can be used as a verandah, patio or carport. With the addition of the Stratco Outback Rooflite™ you can supply filtered light to the underside. The beams can span up to 8.4 metres and are available in either 120mm or 150mm sizes.
Brochures & Installation Guides
I was so impressed by the 1-piece profiled beams that were so strong they could span 8.4 metres without support columns giving me beautiful uninterrupted views.
Four patio configurations to choose from:
- Type One has a 4.5 metre maximum span and only requires an outside beam to support the structure, although most units use perimeter beams on all sides to provide the best appearance.
- Type Two is the same, but with an overhang at the front to increase the covered area to 5.4 metres.
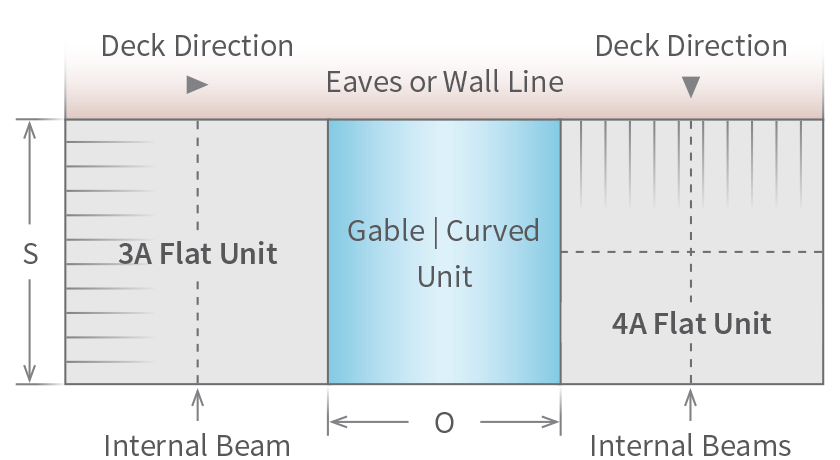
- Type Three has support beams across the span so the roof sheets can run horizontally for a different appearance.
- Type Four has extra support beams and a purlin through the middle to give it a span of 8.4 metres.
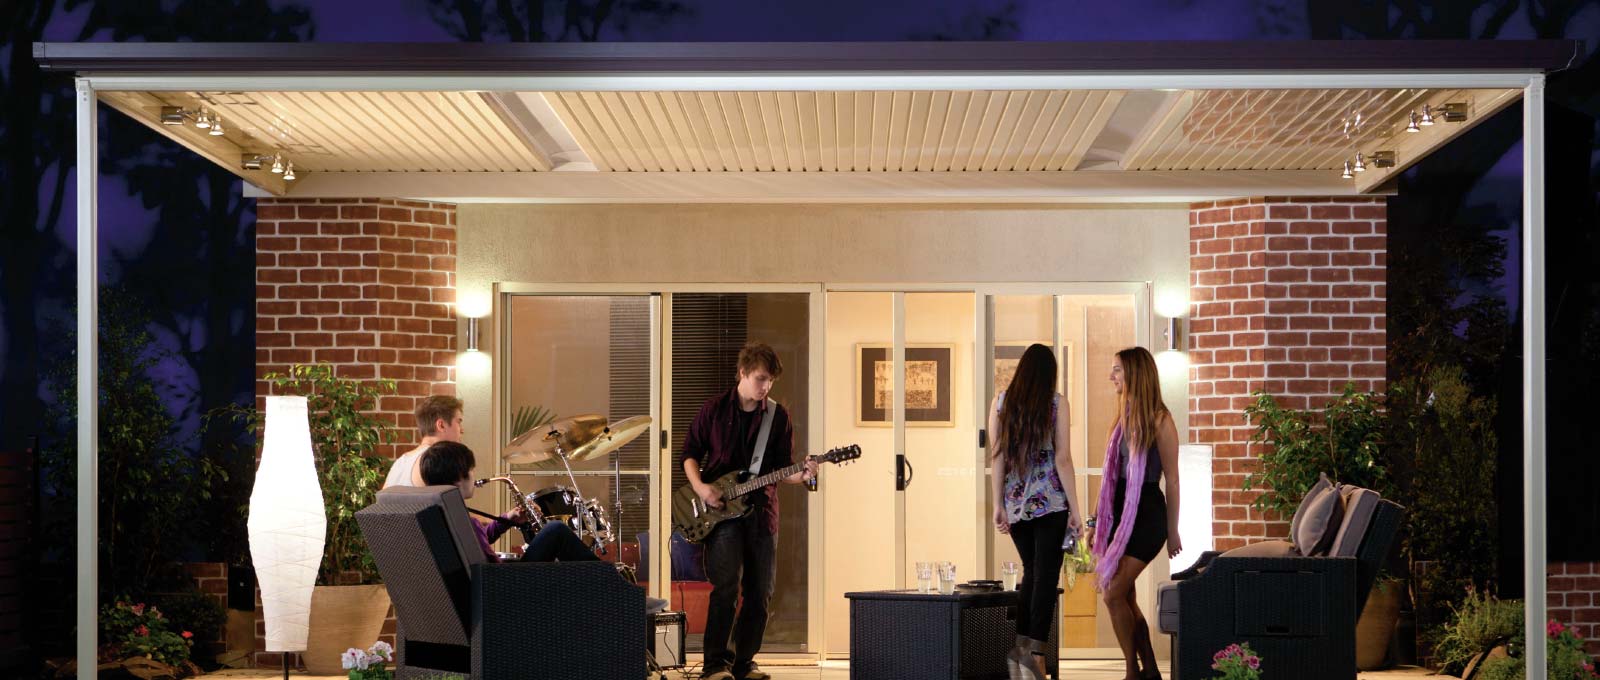
Leave the hard work to Stratco
Uncomplicated by design, have your Flat Roof Outback Verandah installed by an Authorised Stratco Dealer and just enjoy your outdoor dream coming to life.
Contact your nearest Stratco or Authorised Stratco Dealer and let us show you the difference a Stratco Verandah living solution can make to your home and lifestyle!
Maximum Spans
| Flat Verandah Attached - Maximum Spans (mm) | ||||||
| Wind Speed | Type 1A 120 or 150 Beam |
Type 2A 120 or 150 Beam |
Type 3A | Type 4A | ||
|---|---|---|---|---|---|---|
| 120 Beam | 150 Beam | 120 Beam | 150 Beam | |||
| Low | 4500 | 4500 | 7200 | 8400 | 6000 | 8400 |
| Medium | 4500 | 4500 | 7200 | 8400 | 6000 | 8400 |
| High | 4500 | 4500 | 7200 | 8400 | 6000 | 8400 |
| Very High | 4500 | 4500 | 7200 | 8400 | 6000 | 8400 |
Spans do not apply to snow loading applications.
| Flat Verandah Freestanding - Maximum Span (mm) | ||||||
| Wind Speed | Type 1F 120 or 150 Beam |
Type 2F 120 or 150 Beam |
Type 3F | Type 4F | ||
|---|---|---|---|---|---|---|
| 120 Beam | 150 Beam | 120 Beam | 150 Beam | |||
| Low | 4500 | 4500 | 7200 | 8400 | 6000 | 8400 |
| Medium | 4500 | 4500 | 7200 | 8400 | 6000 | 8400 |
| High | 4500 | 4500 | 7200 | 8400 | 6000 | 8400 |
| Very High | 4500 | 4500 | 7200 | 8400 | 6000 | 8400 |
Spans do not apply to snow loading applications.
Connection Details
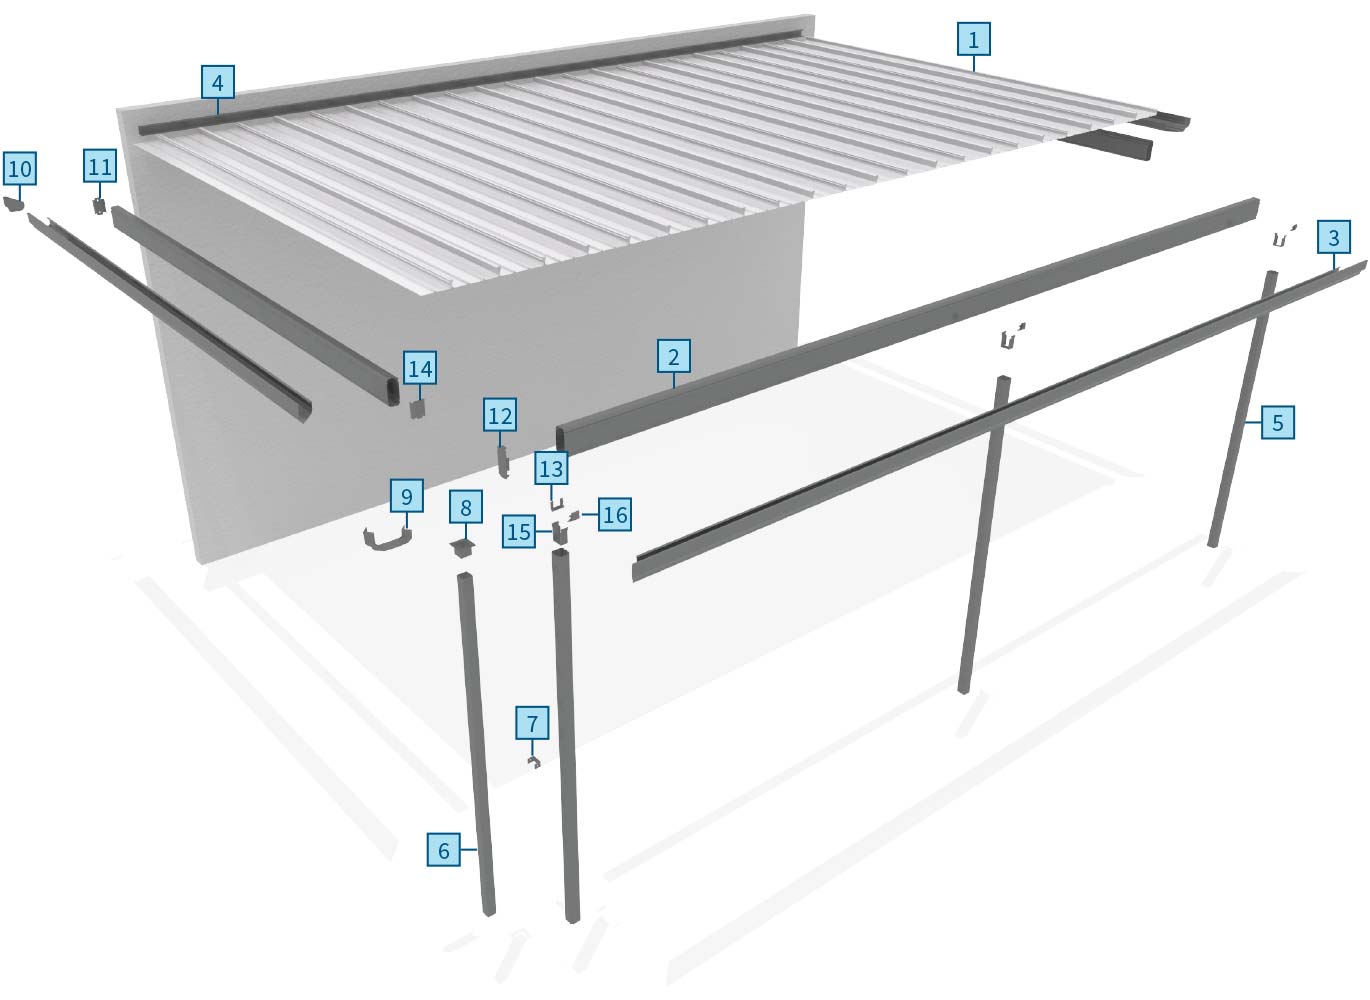
Flat Attached
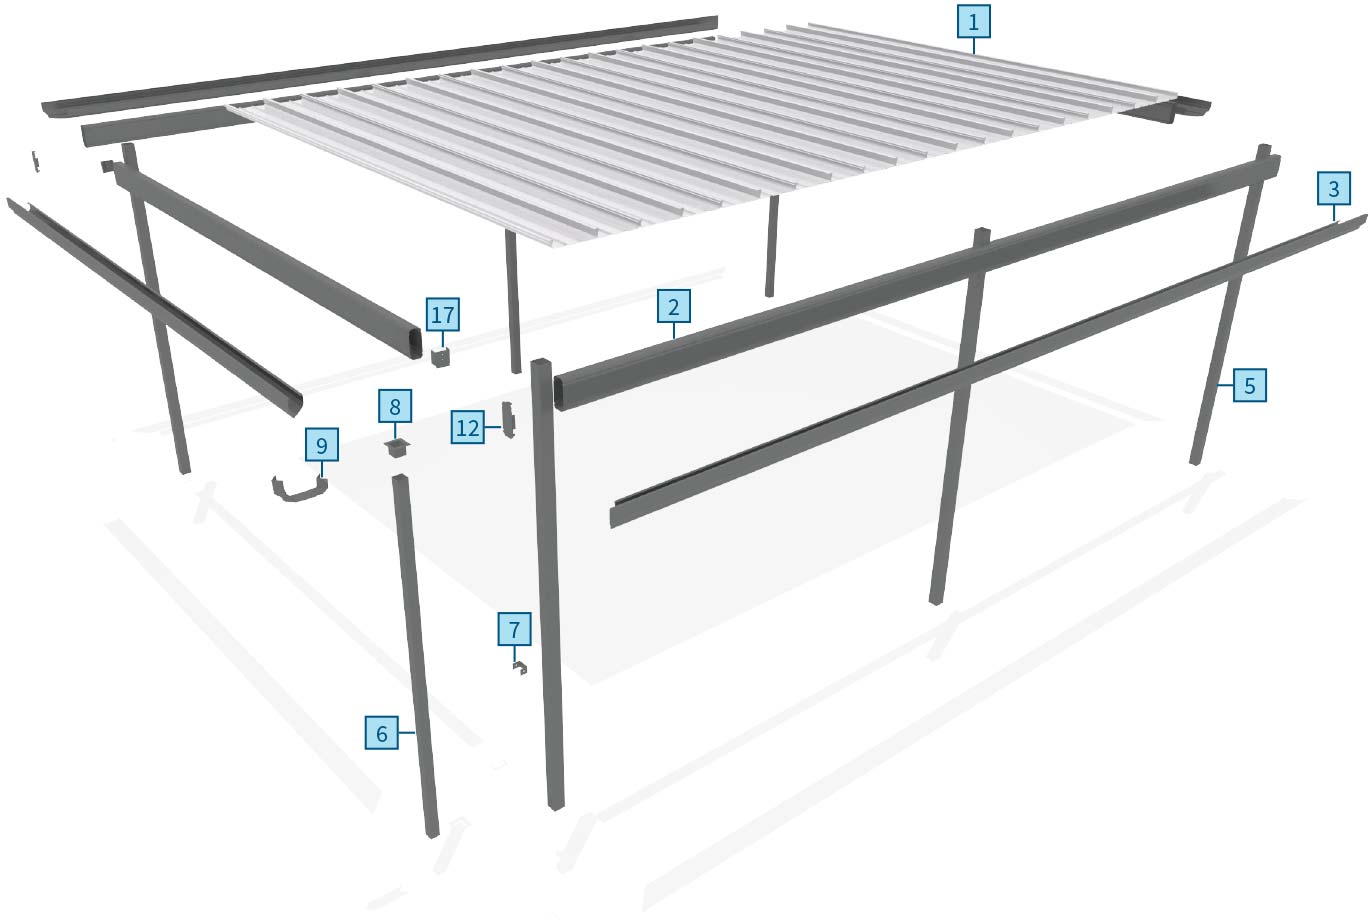
Flat Freestanding
Components
- Roofing Deck
- Beams
- Gutter
- Back Channel and BIP Foam
- Columns
- Downpipe
- Downpipe Strap
- Downpipe Outlet
- Gutter Mitre
- Gutter Stop End
- Wall Bracket
- Beam End Bracket
- Notched Beam Filler
- Beam to Beam Bracket
- Post Bracket
- Post Cap
- Freestanding Column Bracket
Installation Video
Fixing Details
For Non-Cyclonic Areas
Two 12 x 20mm self drilling screws per pan at each support and two 3.2mm sealed aluminium rivets per pan at the back channel. If decking runs parallel to the back channel, secure to channel with rivets at maximum 200mm centres. All screws require neoprene washers.
For Cyclonic Areas
Three 12 x 20mm self drilling screws per pan at each support. For deck spans less than 3600mm, two self drilling screws per pan are to be used on the fascia beam. Three 4.8mm sealed aluminium rivets per pan (or 150mm centres if sheets are parallel) are to be used on the back channel. All screws require neoprene washers.
Roof Sheeting
Roofing Deck

Stratco Rooflite
Structural Sections
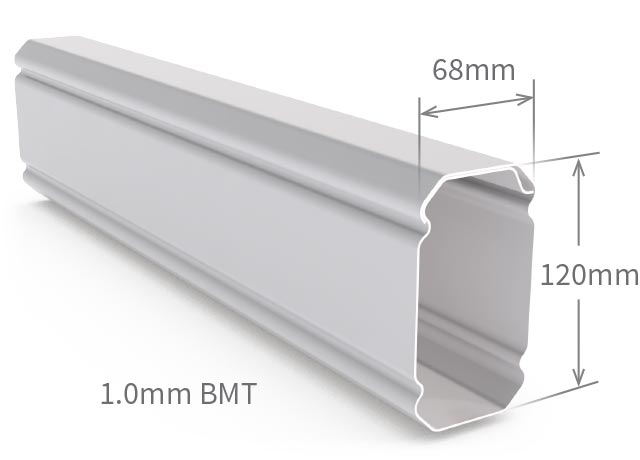
120mm Beam
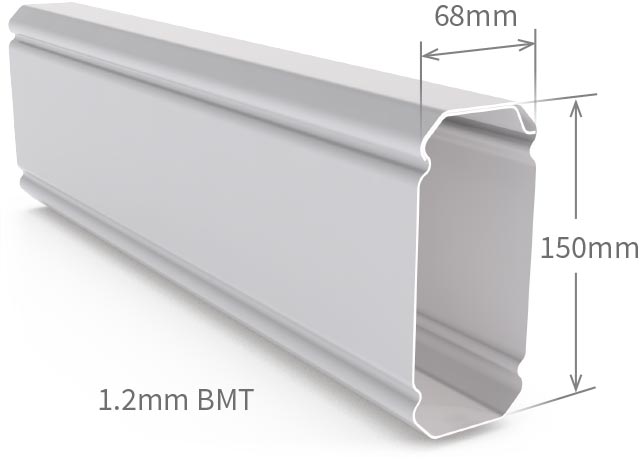
150mm Beam
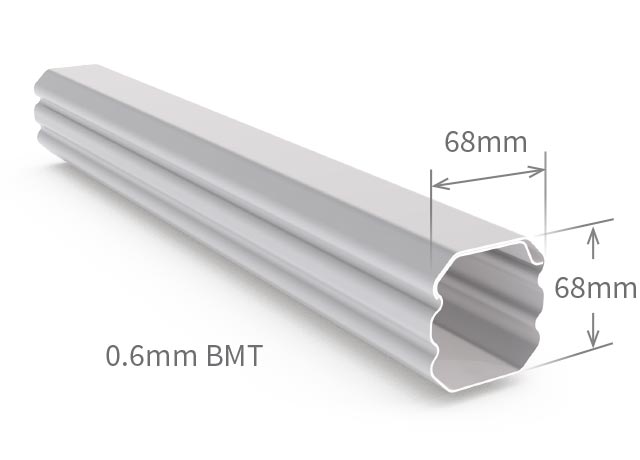
Post | Purlin
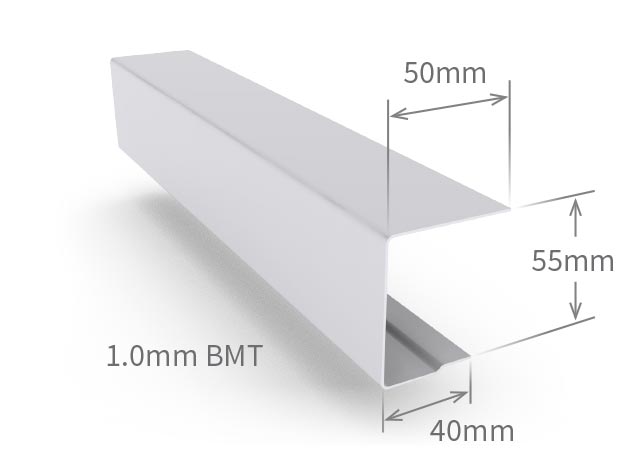
Back Channel
Design Considerations
Gable or curved units attached between a flat unit and an existing structure
Gable or curved units which are attached between a flat unit (excluding pergolas) and an existing house, are only be considered attached if the gable or curved unit is attached to the existing house (C) for its full length (L) and the longest side of the combined unit (B) does not exceed twice the gable or curved unit length (L). The flat unit in this case can be considered attached. This style requires all coloumns to be embedded into footings.

The unit is considered attached if: B = 2 L or less, and C = L
Gable or curved units attached to a flat unit on one or both sides
Gable or curved units which are attached on one or both sides to flat units, (excluding pergolas) must be attached to a house for at least 75% of the gable or curved opening length (O) to be considered attached. Flat units must be deemed attached as detailed in the flat unit section below for the gable or curved unit to be considered attached.
Gable or curved units are considered attached on both sides if both the flat 1 and 2 comply with the attachment rules for flat units as detailed below. Gable or curved units are considered attached on one side if only one flat unit exists and it complies with the attachment rules for flat units as detailed below.
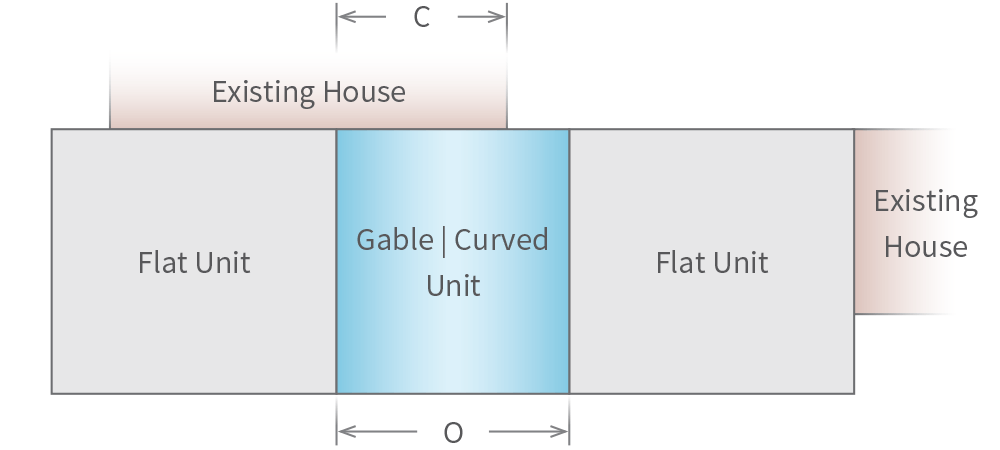
The gable | curved unit is considered attached if: C = 0.75 of O or more
Flat units
A patio or carport is deemed to be freestanding unless it is attached to an existing house (C) for at least 75% of the length of its shortest side (A), and its longest side (B) does not exceed twice the length of its shortest side.
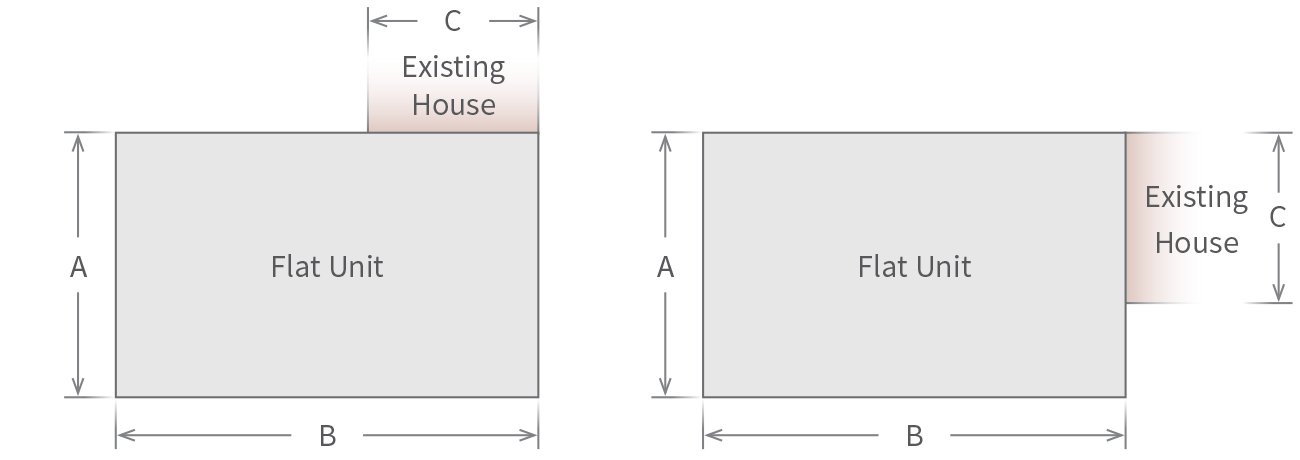
The unit is considered attached if: B = 2 A or less, and C = 0.75 A or more
Design Options
When designing a Stratco Verandah, consideration should be given to both the roof sheet direction, and the orientation of any openings and overhangs involved. These are often determined by appearence and drainage requirements. Some of the normal configurations are shown below. Contact Stratco if assistance is required.
Attached to a flat unit on one side and a wall or fascia on one end
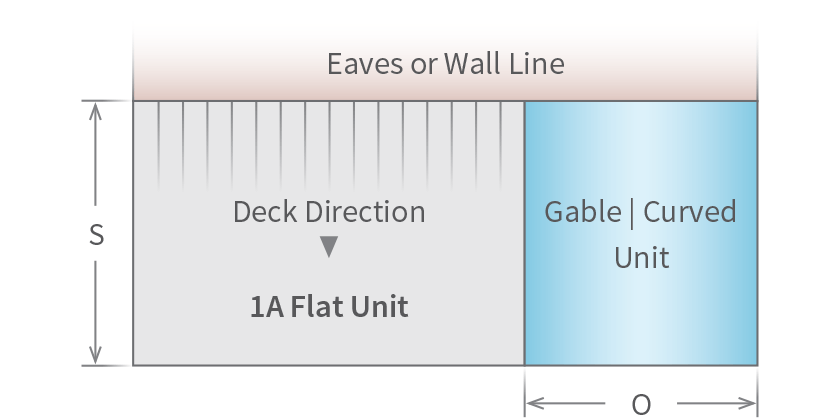
Attached both sides to the flat unit and the wall or fascia on the opposite side
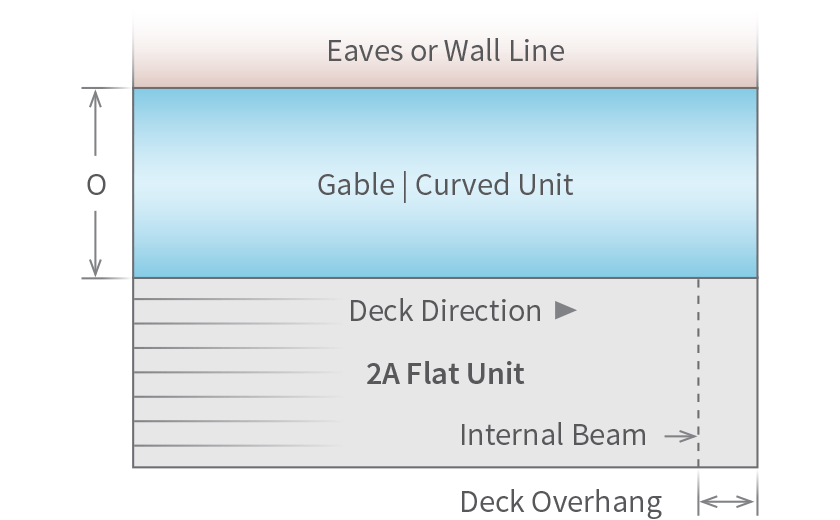
Attached to the flat unit on both sides and the wall or fascia on one end
